

Hey there! I'm stoked to share with you how you can make colored rubber bands right at home. As a supplier of all sorts of colored rubber bands, I've got a ton of knowledge about these stretchy little wonders. Whether you're into DIY projects or just want to have some fun, making your own colored rubber bands can be a blast.
What You'll Need
First things first, let's talk about the materials. You don't need a bunch of fancy stuff to get started. Here's what you'll need:
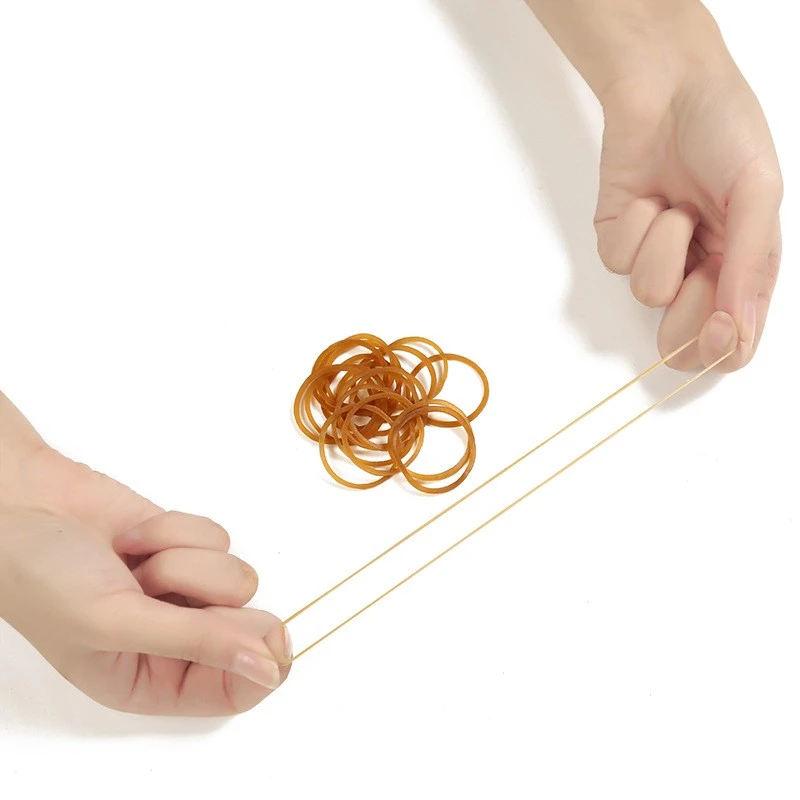
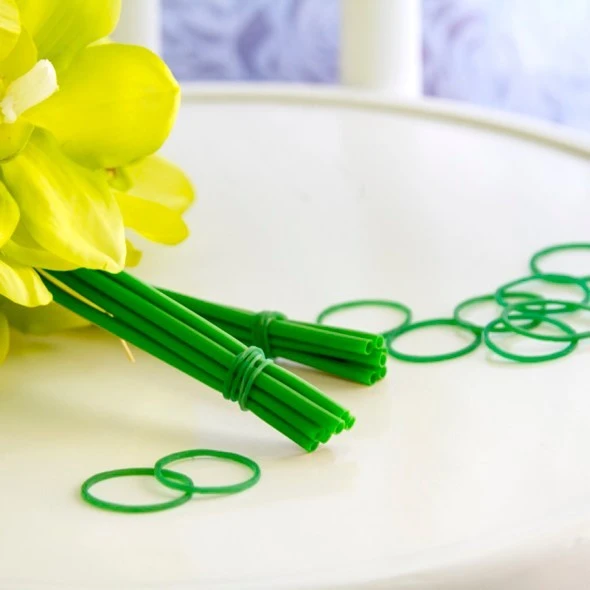
- Plain Rubber Bands: You can find these at any office supply store or online. Make sure they're the right size for your project.
- Fabric Dye: This is what will give your rubber bands their color. You can choose from a wide range of colors, so pick your favorites.
- A Container: You'll need a container to soak the rubber bands in the dye. A plastic or glass container works great.
- Gloves: Dye can stain your hands, so it's a good idea to wear gloves to protect them.
- Paper Towels: You'll use these to dry the rubber bands after they're dyed.
Step-by-Step Process
Now that you have all your materials, let's get started on making those colored rubber bands.
Step 1: Prepare the Dye
Fill your container with hot water and add the fabric dye according to the instructions on the package. Stir the dye well until it's completely dissolved. The amount of dye you use will depend on how dark or light you want the color to be. If you want a really bright color, you can add a little more dye.
Step 2: Soak the Rubber Bands
Put on your gloves and carefully place the plain rubber bands into the dye solution. Make sure they're fully submerged in the dye. You can use a spoon or tongs to move the rubber bands around and make sure they're evenly coated with the dye.
Step 3: Let the Rubber Bands Sit
Let the rubber bands soak in the dye for at least 30 minutes. The longer you let them soak, the darker the color will be. You can check the color of the rubber bands after 30 minutes to see if it's the shade you want. If it's not dark enough, you can let them soak for a little longer.
Step 4: Rinse the Rubber Bands
Once you're happy with the color of the rubber bands, take them out of the dye solution and rinse them under cold water. Keep rinsing until the water runs clear. This will remove any excess dye from the rubber bands.
Step 5: Dry the Rubber Bands
Lay the rinsed rubber bands on a paper towel and pat them dry. You can also let them air dry for a few hours until they're completely dry. Make sure they're dry before you use them.
Tips and Tricks
Here are some tips and tricks to help you make the best colored rubber bands:
- Use Different Dyeing Techniques: You can experiment with different dyeing techniques to create unique patterns and designs on your rubber bands. For example, you can tie the rubber bands in knots before dyeing them to create a tie-dye effect.
- Mix Different Colors: You can mix different colors of dye to create your own custom colors. This is a great way to get the exact color you want.
- Use Different Sizes of Rubber Bands: You can use different sizes of rubber bands to create different effects. For example, you can use small rubber bands to make bracelets or necklaces, and you can use large rubber bands to make hair ties or headbands.
Different Types of Colored Rubber Bands
As a supplier, I offer a wide range of colored rubber bands. Here are some of the different types of colored rubber bands you can find:
- Latex Free Rubber Bands: These rubber bands are perfect for people who are allergic to latex. They're made from a special material that's latex-free, so they're safe to use.
- Floral Rubber Bands: These rubber bands are decorated with beautiful floral patterns. They're perfect for adding a touch of style to your projects.
- Mini Colored Rubber Bands: These rubber bands are small in size, but they're big on color. They're perfect for making small crafts and jewelry.
Why Make Your Own Colored Rubber Bands?
Making your own colored rubber bands has a lot of benefits. Here are some of the reasons why you should try making your own:
- It's Fun: Making your own colored rubber bands is a fun and creative activity. You can experiment with different colors and techniques to create unique designs.
- It's Cost-Effective: Buying pre-made colored rubber bands can be expensive, especially if you need a lot of them. Making your own colored rubber bands is a cost-effective way to get the same results.
- It's Customizable: When you make your own colored rubber bands, you can customize them to your liking. You can choose the colors, sizes, and designs that you want.
Conclusion
Making colored rubber bands at home is a fun and easy activity that anyone can do. With just a few materials and some basic steps, you can create your own colorful rubber bands. Whether you're using them for crafts, jewelry, or just for fun, colored rubber bands are a great way to add a pop of color to your life.
If you're interested in purchasing colored rubber bands in bulk, I'd love to talk to you. I offer high-quality colored rubber bands at competitive prices. Just reach out, and we can discuss your specific needs and requirements.
References
- Fabric Dye Packaging Instructions
- Personal Experience as a Colored Rubber Bands Supplier